Cyclone How To Had Tension To Awning

Tension Rod Ideas Exterior Industrial With Overhang Contemporary Mailboxes Porch Canopy Front Door Landscaping Garage Door Styles
Guide To Wind Resistant Awnings

Shade Sails And Tension Structures Shade Sails Patio Backyard Shade Patio Shade
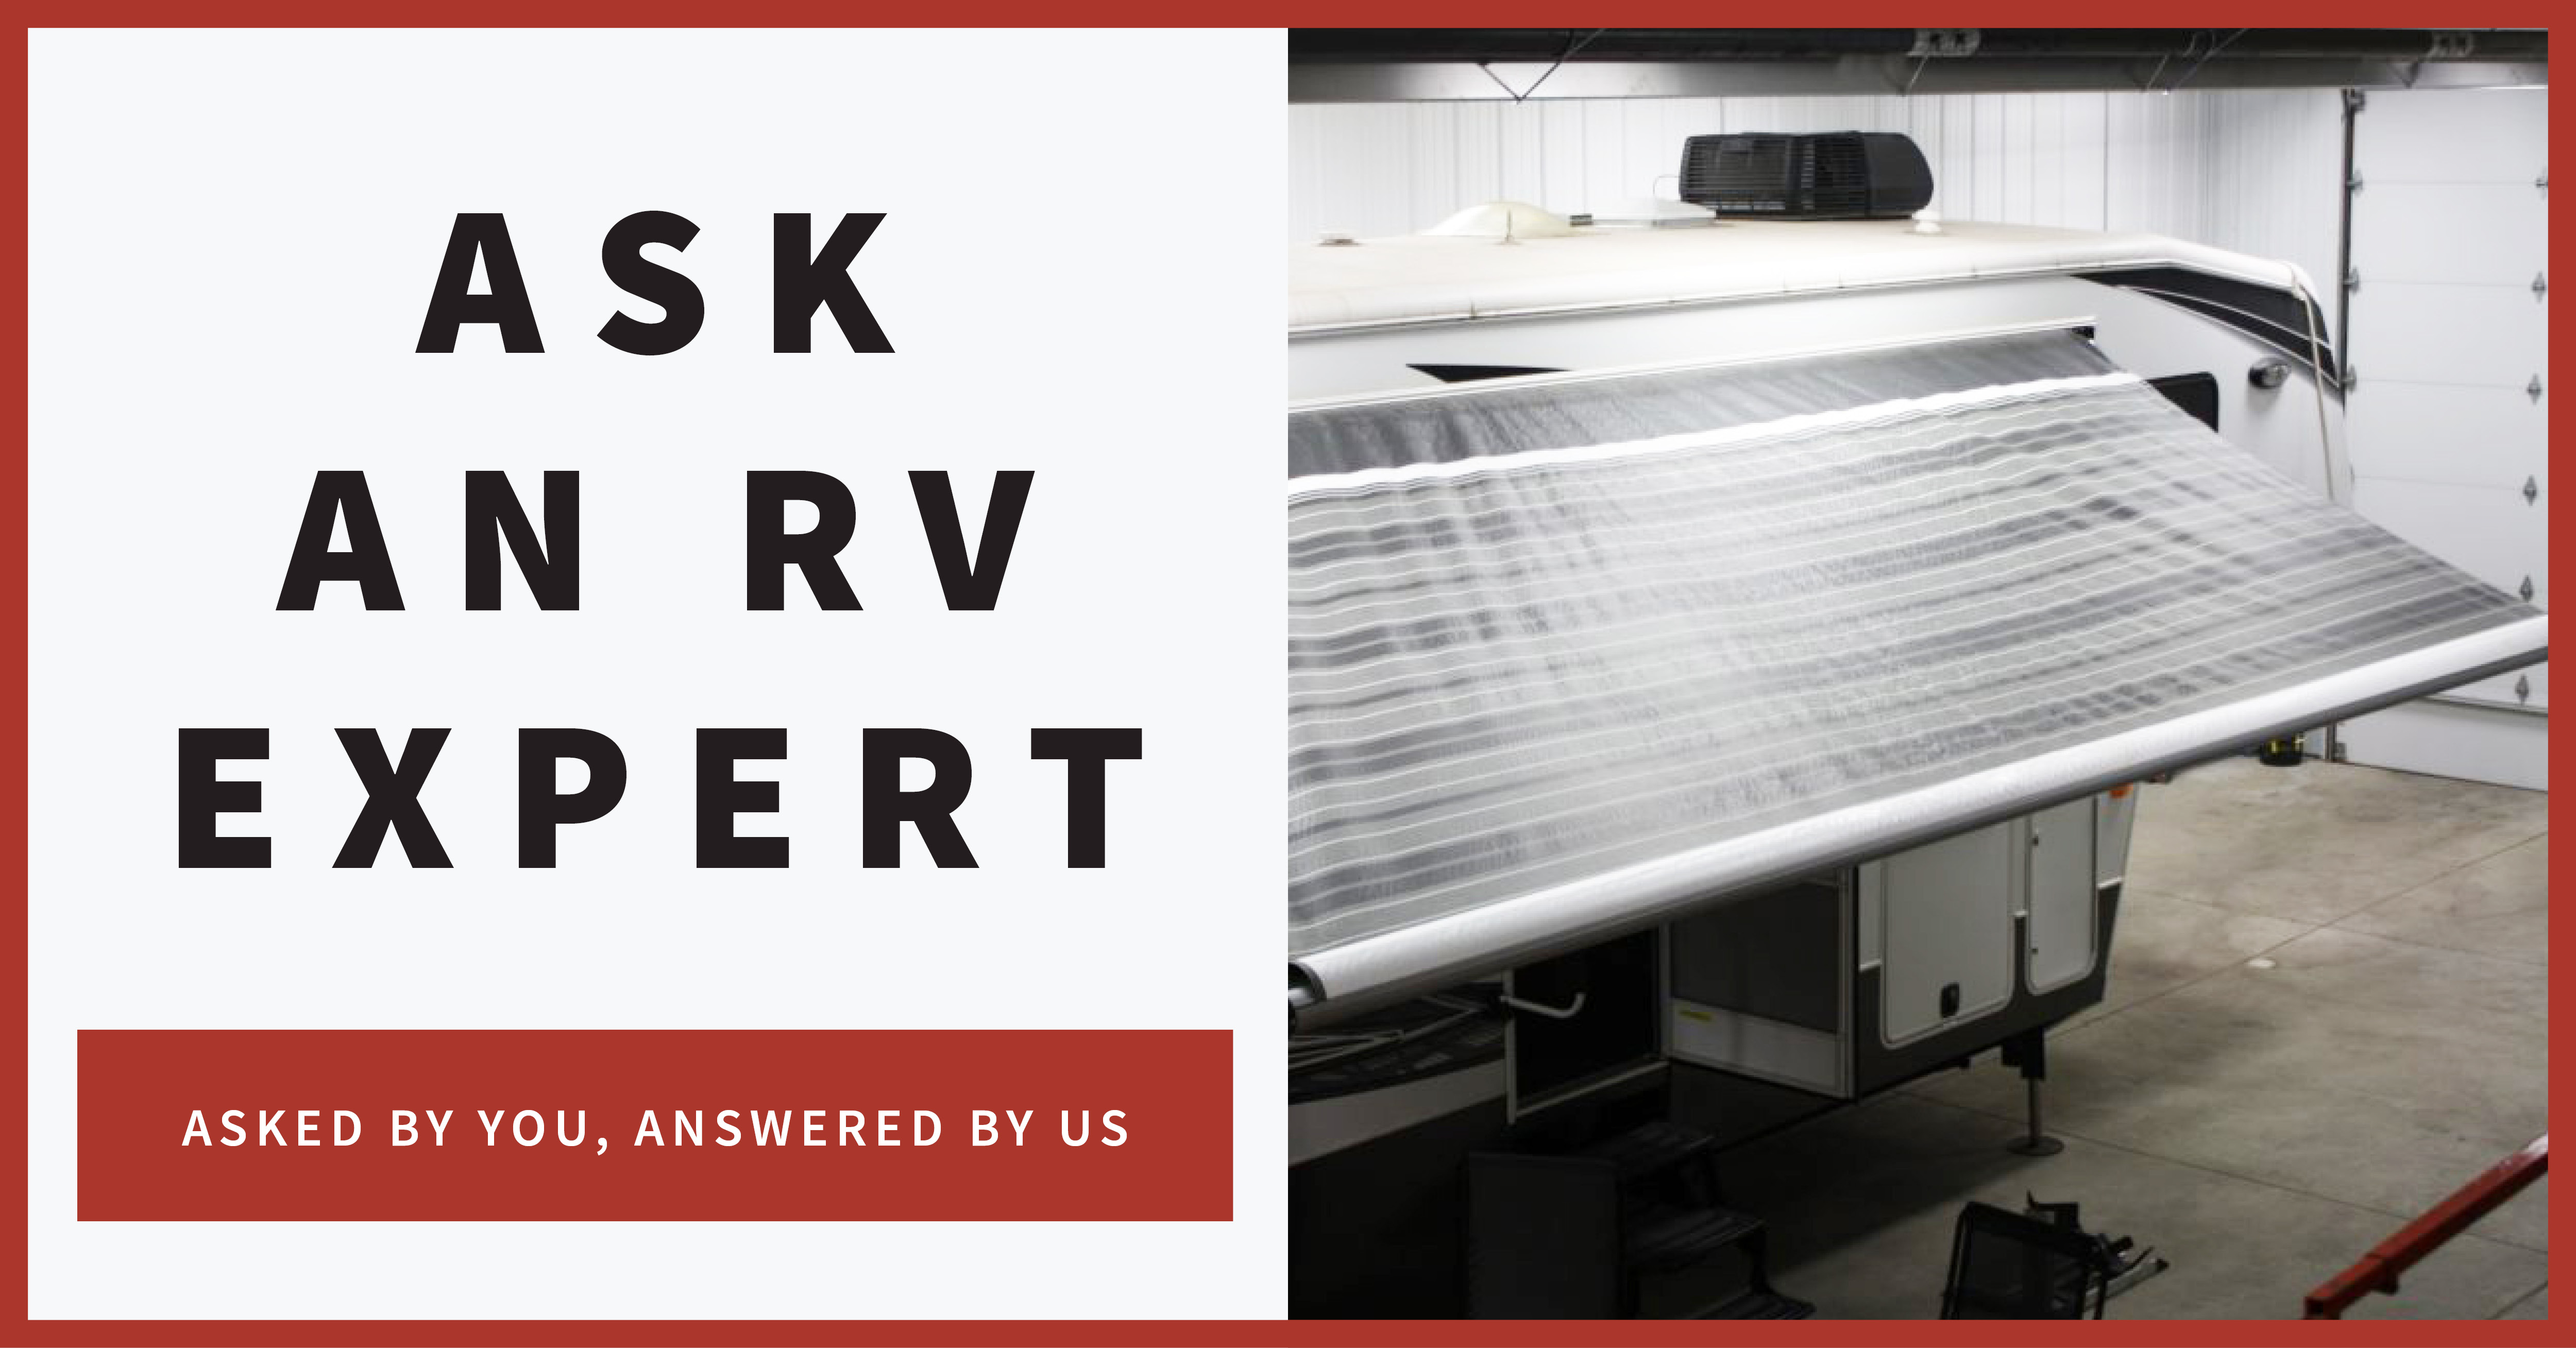
What To Do When An Awning Won T Go In Rv Repair Club Q A

Pin By Erika On Pergolas Awnings Shade Sail Patio Canopy Patio Shade

Experts In The Field Of Fabric Architecture Residential Awnings Architecture Porch Patio

2 the support arm consists of an outer and inner section.
Cyclone how to had tension to awning.

Shade Sails Tarpaulins Tarps Tension Structures Marquees Canvas Architectural Membrane Structures Tensile Fabr Canopy Outdoor Shade Structure Shade Sail

25 Crazy Creative Uses For Tension Rods Kitchen Window Treatments Home House

Shade Sails And Tension Structures Superior Awning Canopy Outdoor Shade Sails Patio Shade Sail

Tension Membrane Carport Steel Carport Fabric Carport Sunshield Shelter Cantilever Carport Carport Designs Car Porch Design
Source : pinterest.com
